How to Fix Missing or Damaged Shingles Before It’s Too Late
" "
Hello, dear readers! If you've ever had a leaky roof, you know that sinking feeling when you realize it could have been prevented with a little bit of maintenance. Today, we’re diving into the world of shingles—the unsung heroes that protect our homes from the elements. Whether you’re a seasoned DIY enthusiast or a homeowner exploring this for the first time, this guide will walk you through fixing missing or damaged shingles before minor issues become costly nightmares.
Understanding Shingles: A Brief History
Before we get into the nitty-gritty of repairs, let’s take a moment to appreciate the history of shingles. They have been part of architectural design for centuries. Originating in ancient times, early shingles were made from wood and even stone. Fast forward to the 20th century, asphalt shingles became the go-to choice due to their durability and cost-effectiveness.
As of today, asphalt shingles remain popular, but they are now often engineered to include fiberglass for added strength. This evolution speaks to the adaptability and longevity of shingles. However, like any other material, they’re not impervious to damage. Understanding where they come from helps us realize why maintaining them is crucial.
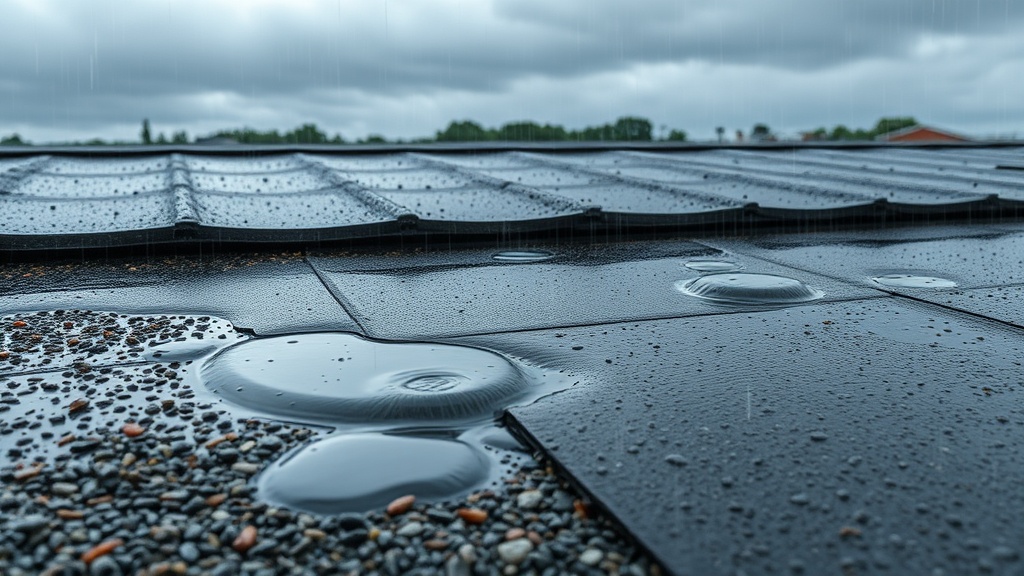
Why Shingles Get Damaged
Common Causes
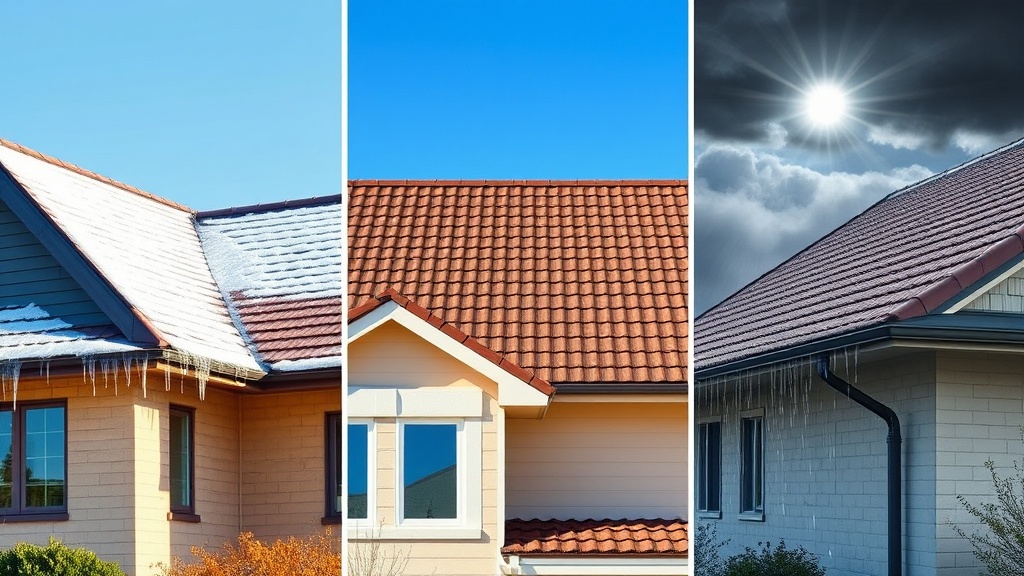
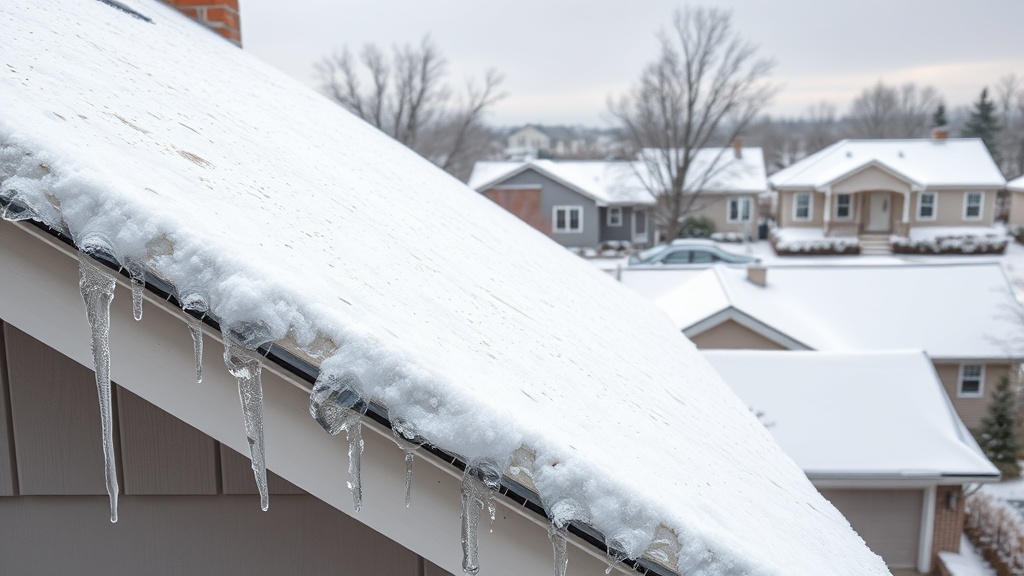
Weather Extremes: The most common reason for shingle damage is weather. High winds, heavy rains, and hail storms can wreak havoc on your roof. Wind can lift shingles, while hail can break or crack them.
Age: Over time, shingles naturally wear down. The average lifespan of asphalt shingles is about 20-30 years, but factors like climate and roof pitch can influence this.
Poor Installation: Incorrect installation can lead to premature damage. If shingles are not nailed correctly, they can easily be blown away.
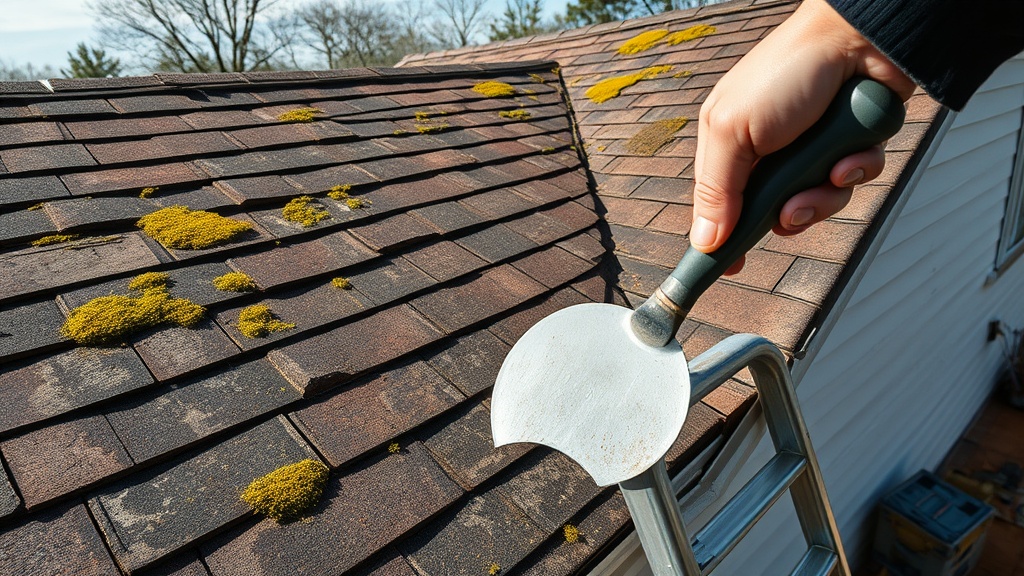
Moss and Algae: Shaded areas of a roof may develop moss or algae, which can retain moisture and cause the underlying structure to rot.
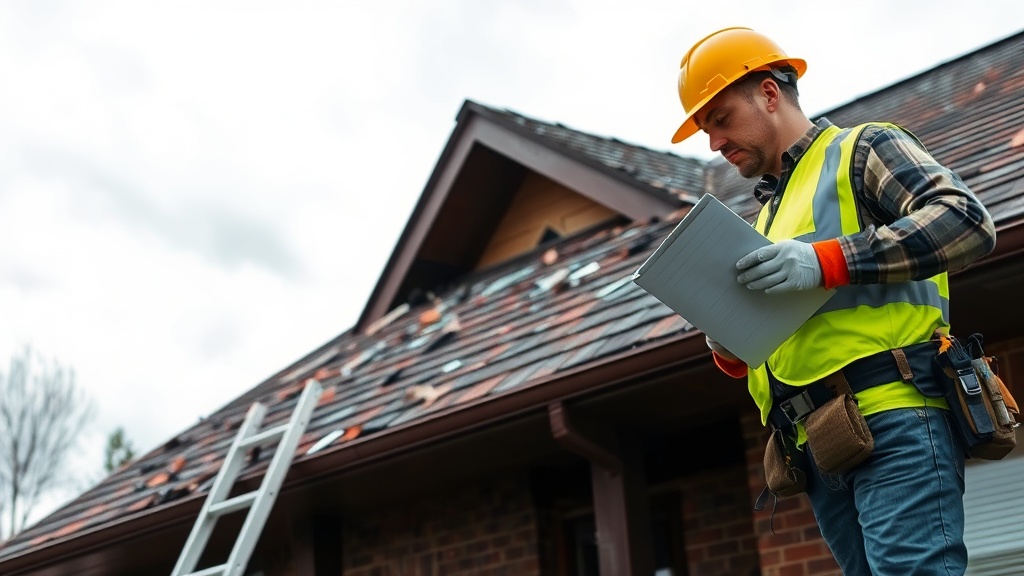
Early Signs of Damage
Catching damage early can save you significant time and money:
- Curling or Clawing Shingles: This indicates potential weathering or poor ventilation.
- Granule Loss: If you notice a lot of granules in your gutters, your shingles might be nearing the end of their life.
- Broken or Missing Shingles: Clearly visible and often a sign that immediate action is necessary.
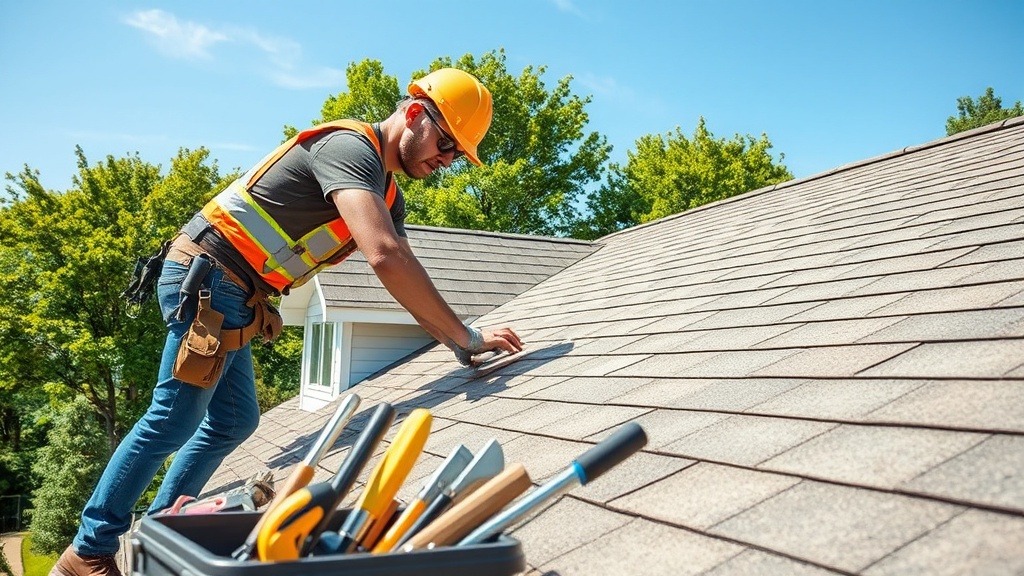
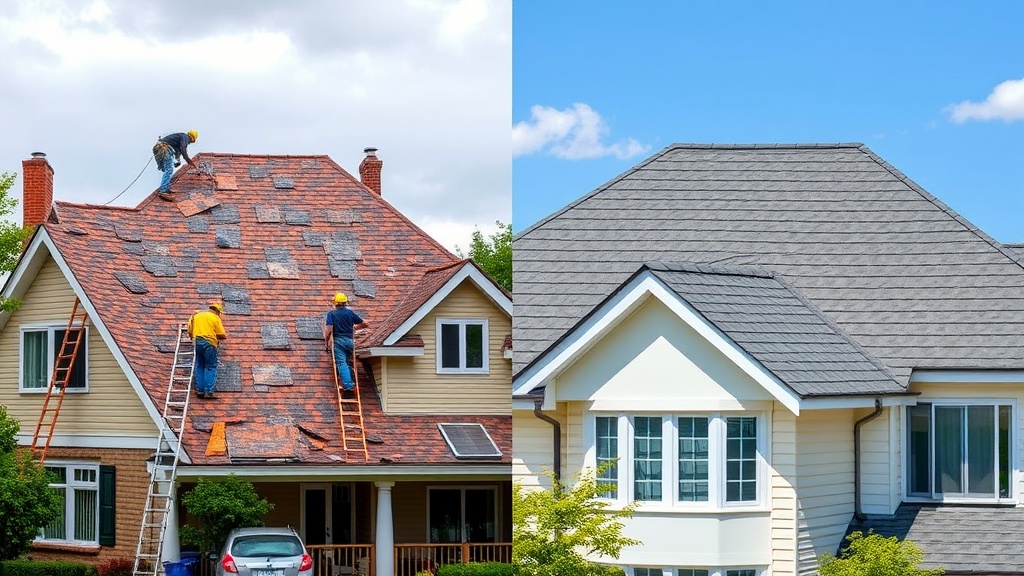
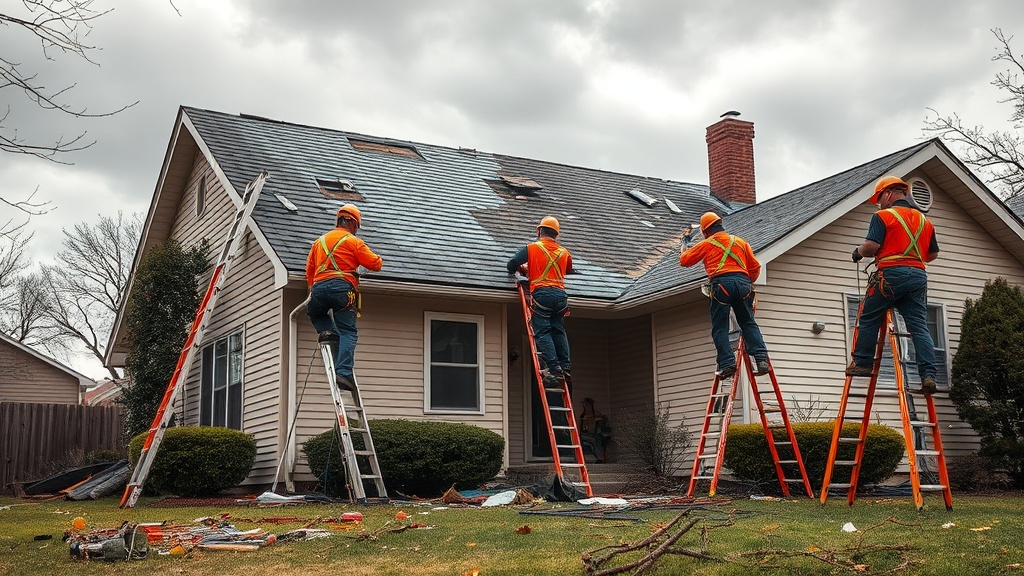
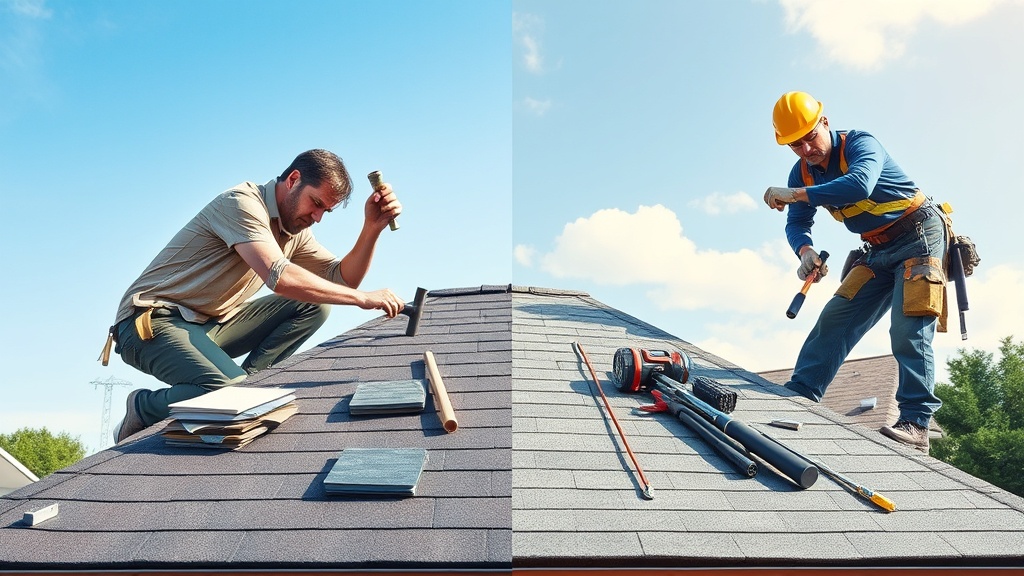
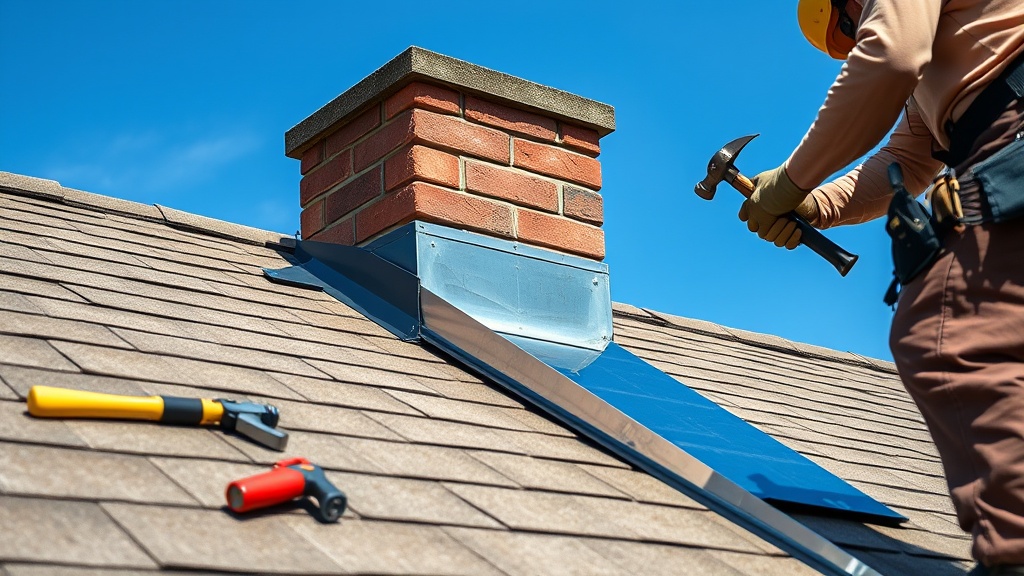
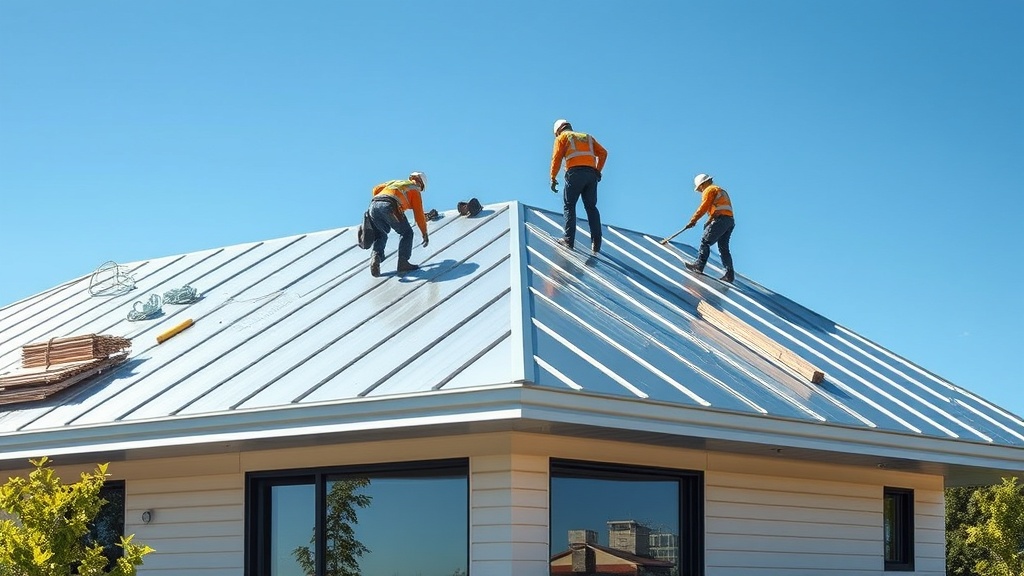
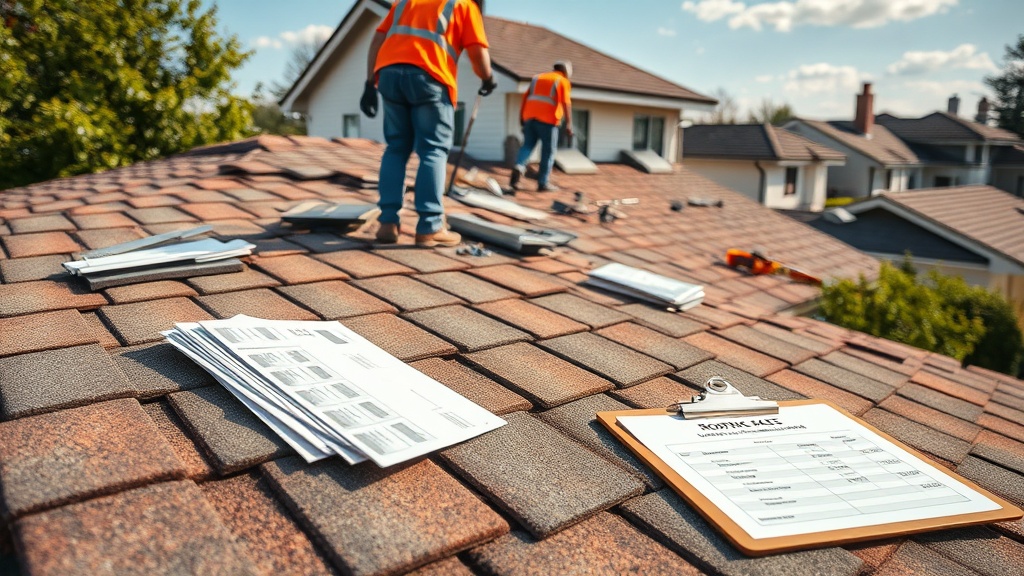
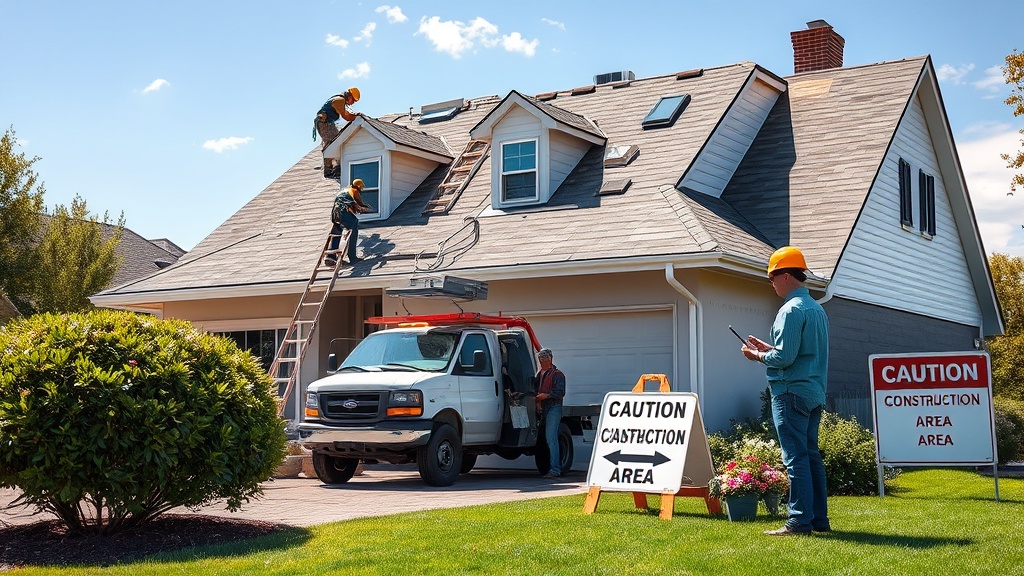
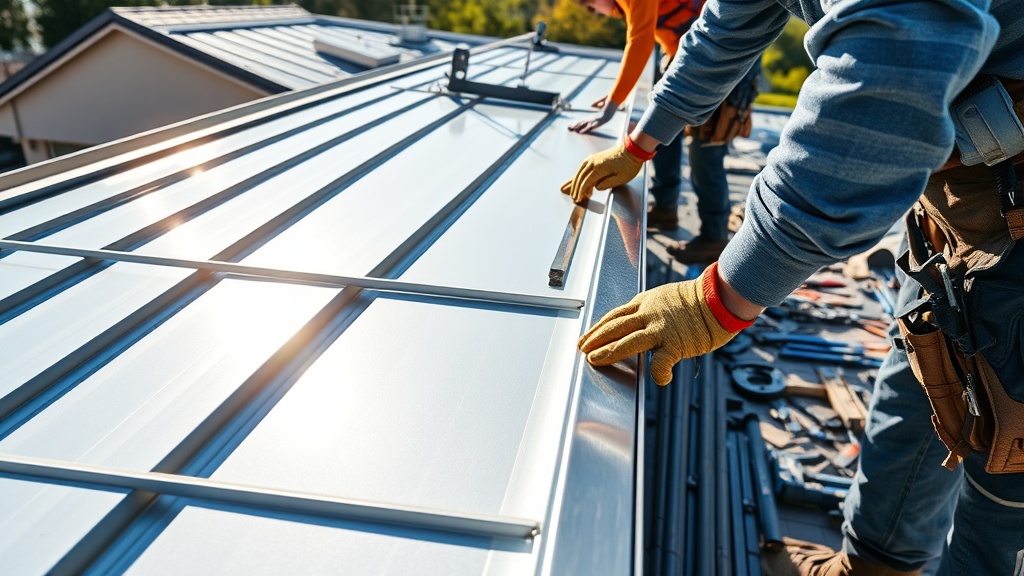
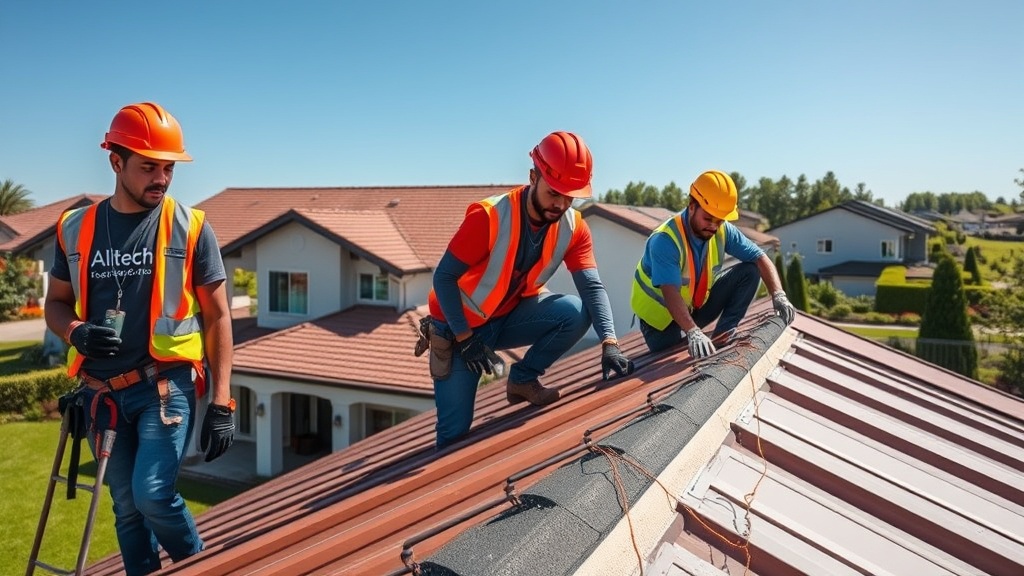
Getting Started with Repairs
Tools You’ll Need
Before you start, gather the following tools:
- Ladder
- Hammer
- Pry bar
- Roofing nails
- Replacement shingles
- Roofing adhesive
- Utility knife
- Safety gear (gloves, goggles)
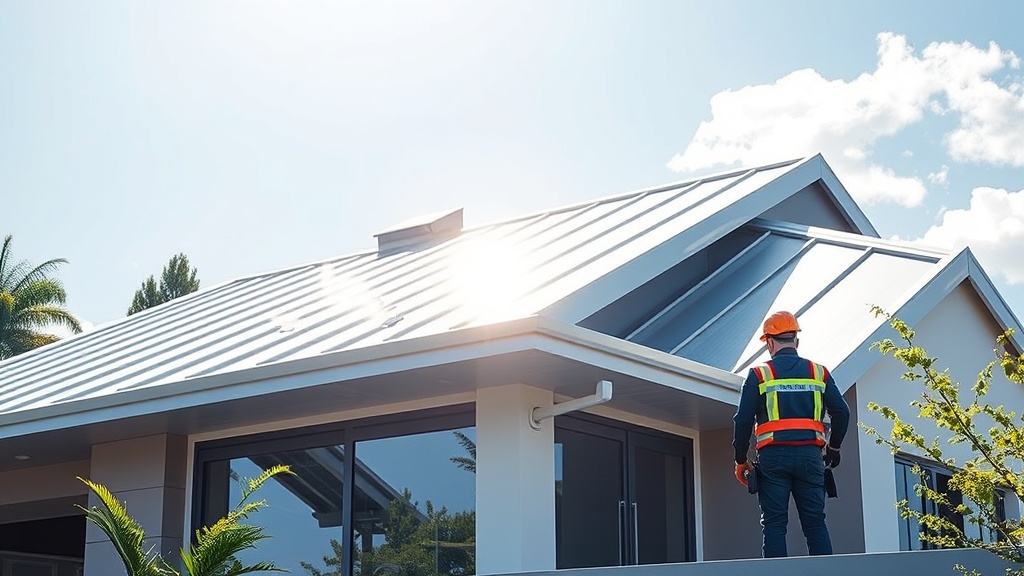
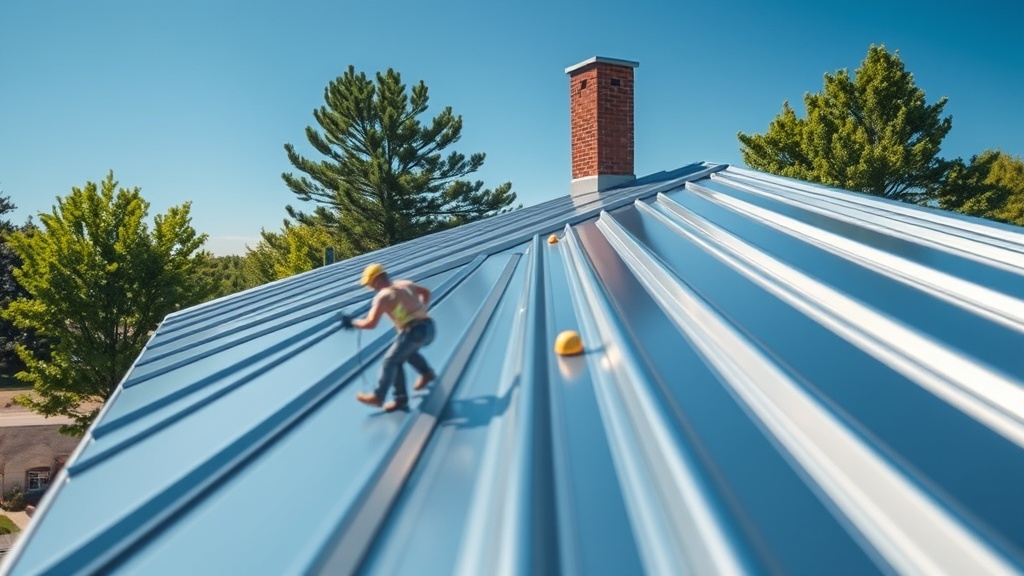
Safety First!
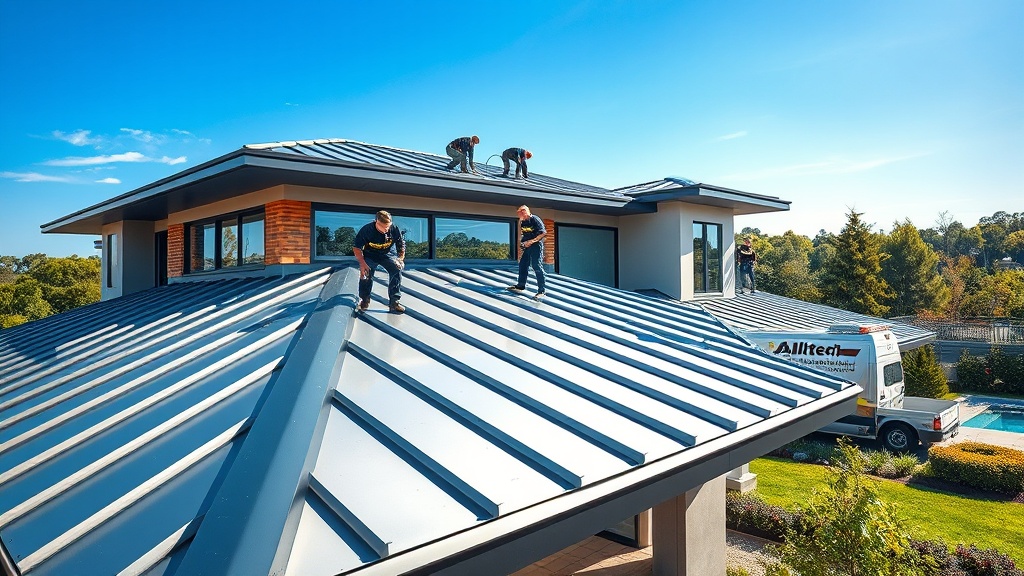
Roof work involves significant risk. Always prioritize safety:
- Check the weather forecast: Avoid working on a roof in wet or windy conditions.
- Use a sturdy ladder: Ensure it’s placed on a flat surface and extends at least 3 feet above the roof edge.
- Wear appropriate footwear: Non-slip, rubber-soled shoes are best for roof work.
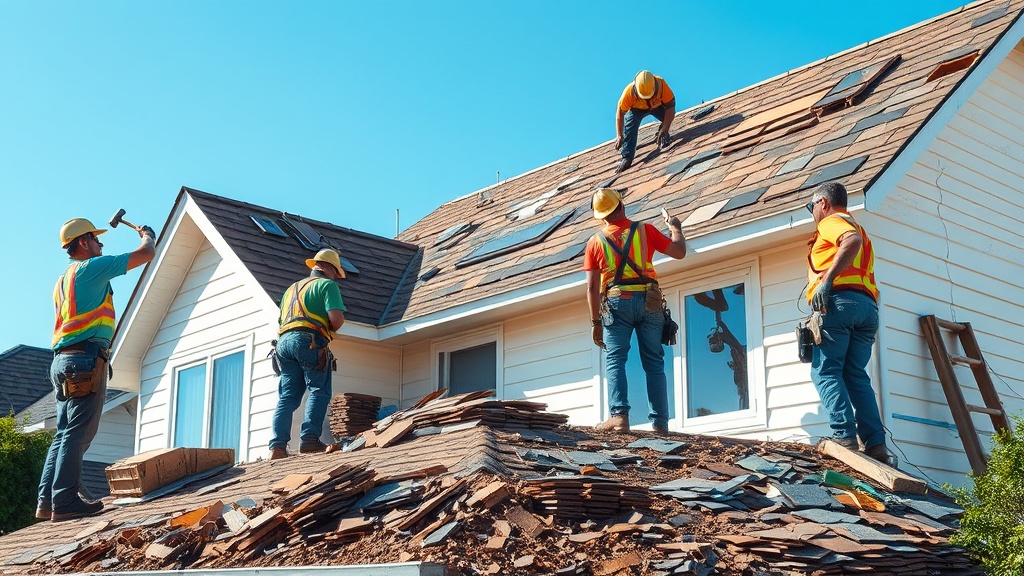
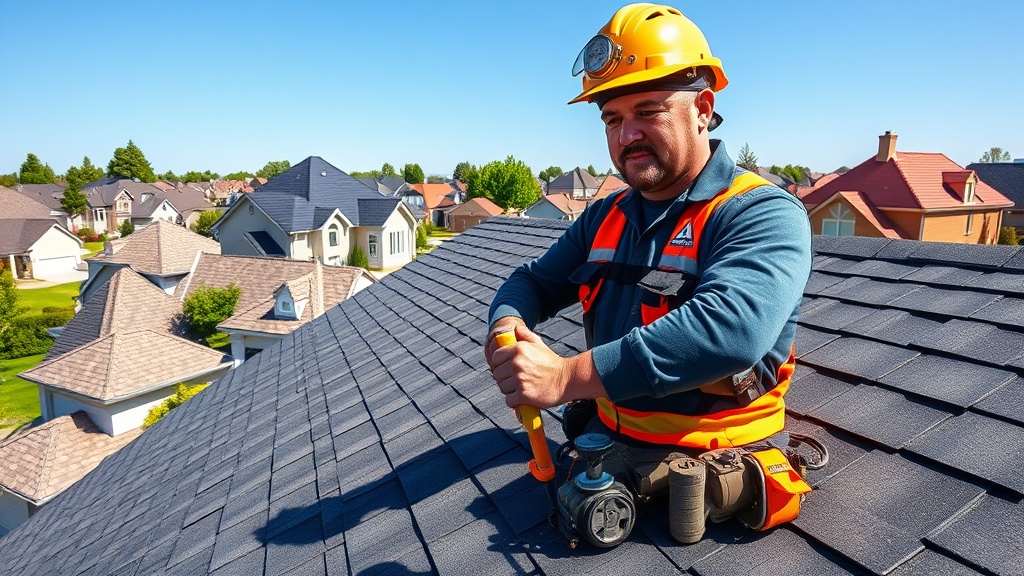
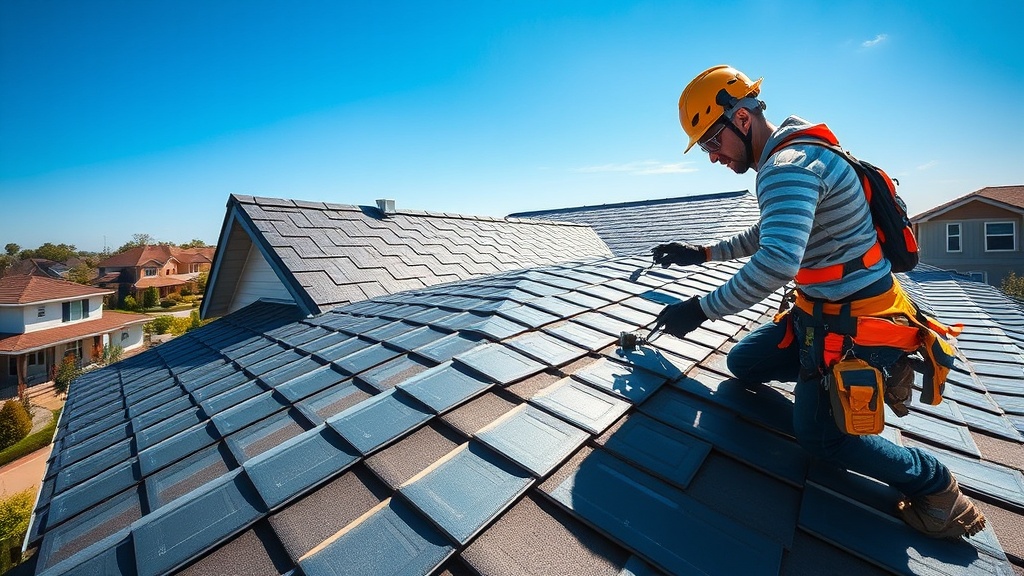
Step-by-Step Repair Guide
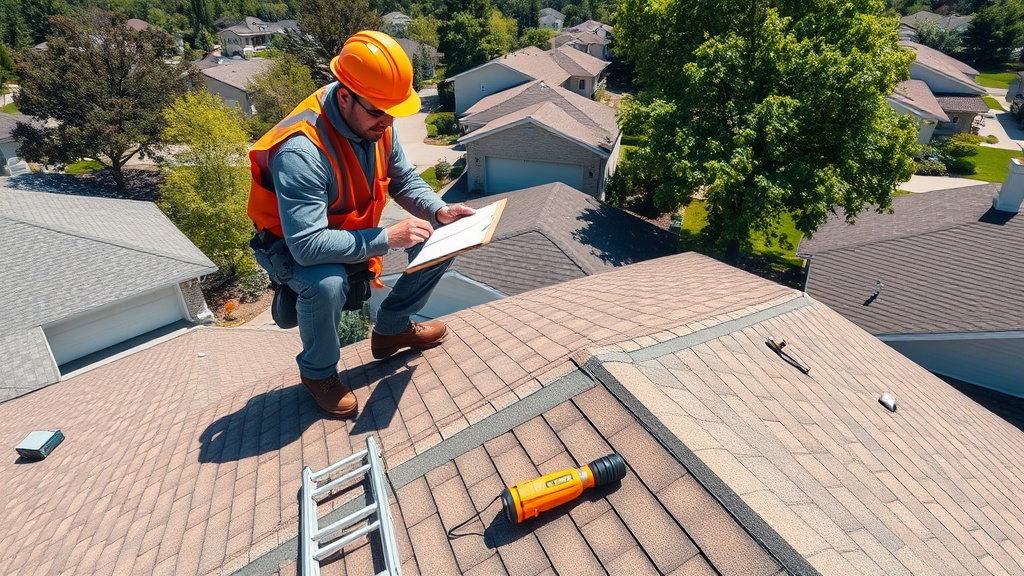
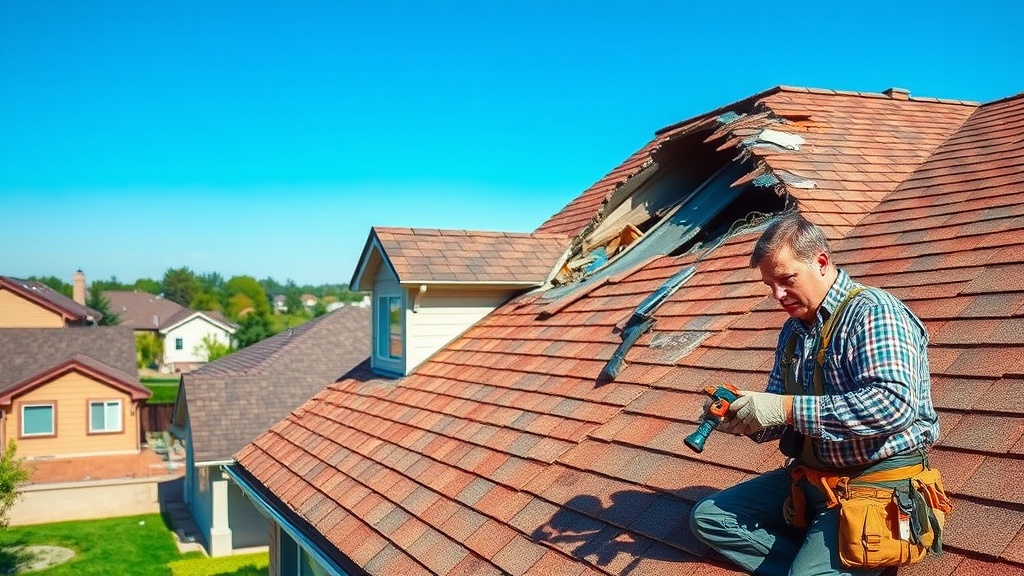
Step 1: Inspect the Damage
Scenario: You’ve noticed a leak in your attic after a storm. Upon inspection, you find a few shingles missing.
- Inspection Process: Start by identifying all visible damage. Look for missing, cracked, or curled shingles. Be thorough; a small oversight can lead to bigger problems.
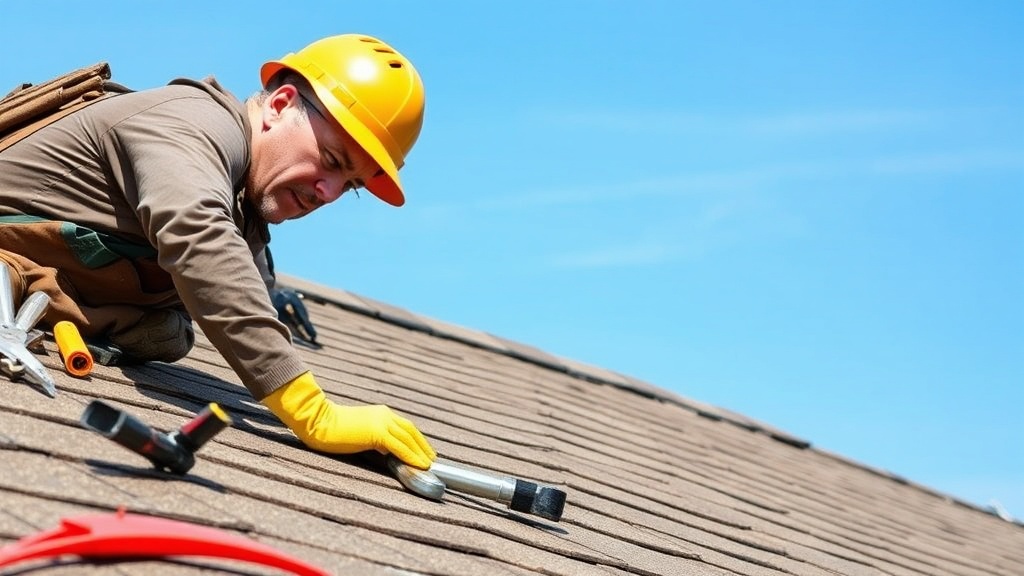
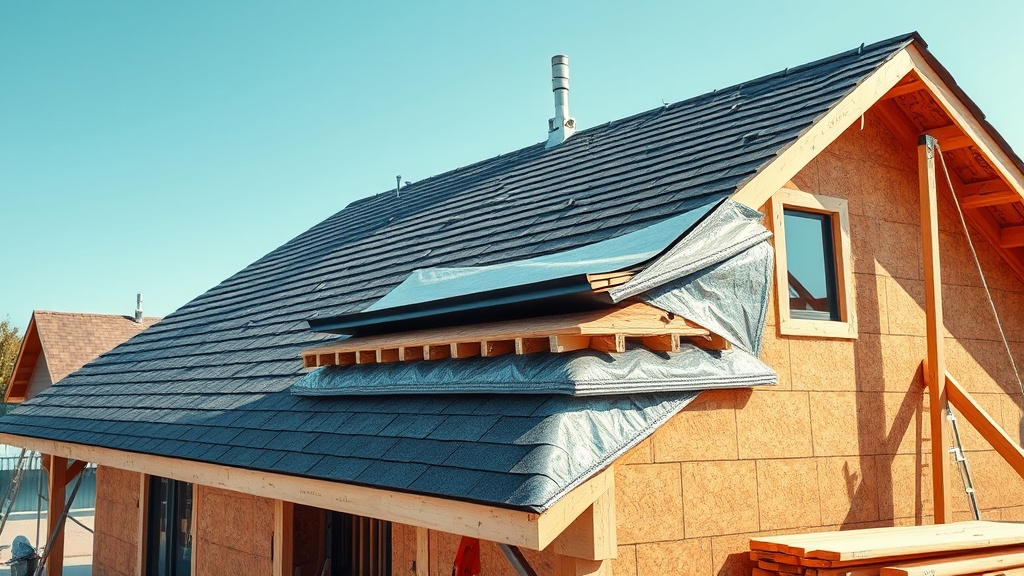
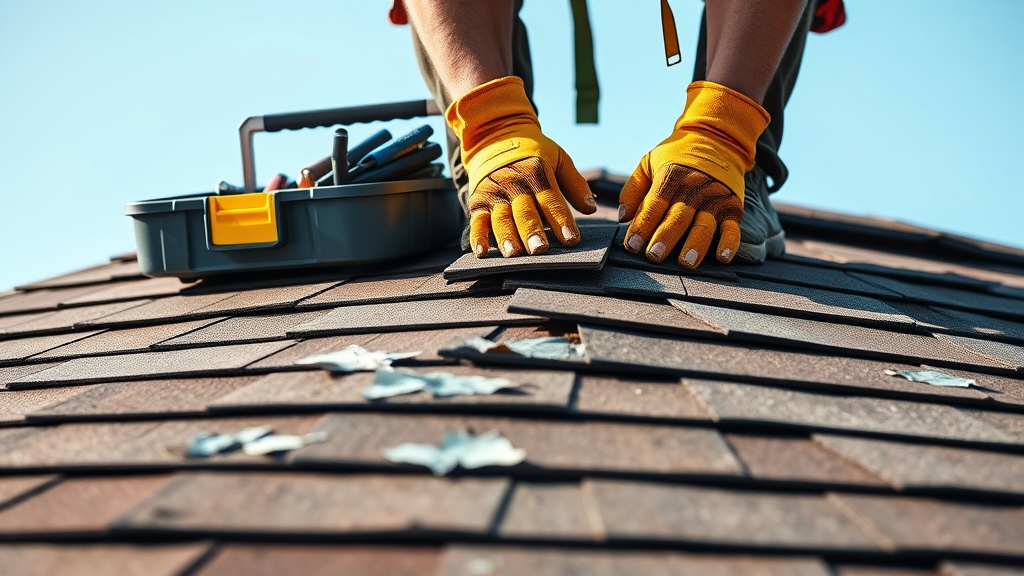
Step 2: Remove the Damaged Shingle
Use a Pry Bar: Carefully lift the damaged shingle, being cautious not to damage adjacent ones. Slide the pry bar under the shingle and remove the nails.
Real-World Tip: If it’s particularly sunny, shingles can become more pliable and easier to work with. Alternatively, in colder weather, you may need to be more gentle to prevent cracking.
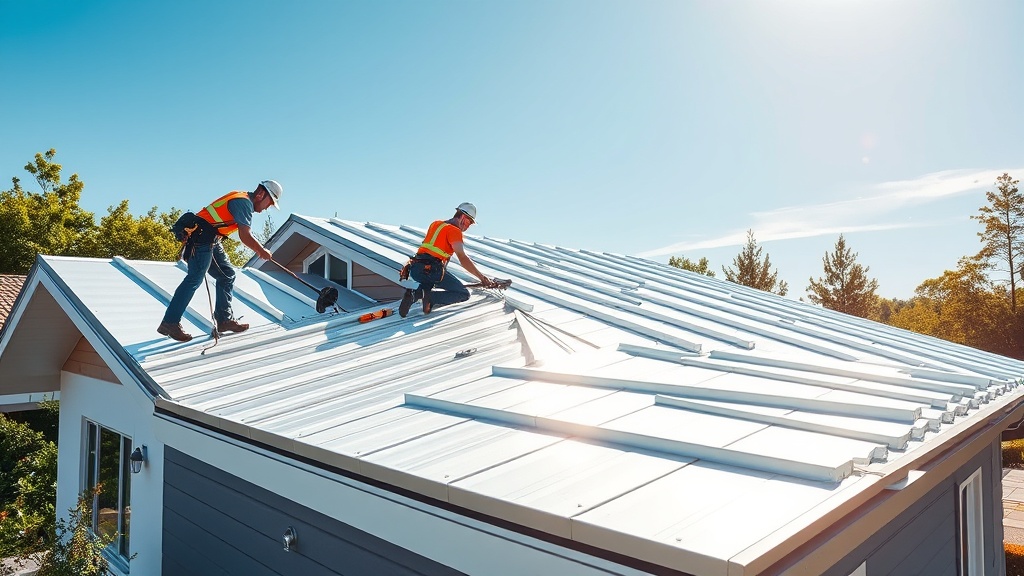
Step 3: Install the Replacement Shingle
Align and Nail: Slide the new shingle into place, ensuring it aligns with the neighboring shingles. Nail it down with roofing nails, placing them just below the adhesive strip.
Seal the Shingle: Apply roofing adhesive under the shingle tab to secure it.
Step 4: Check for Hidden Damage
Scenario: During replacement, you find the underlayment is damp.
- Underlayment Repair: If the underlayment is wet, allow it to dry completely. Replace any compromised sections before installing new shingles. This ensures the integrity of your roof system.
Long-term Maintenance Tips
Routine Inspections
- Bi-Annual Checks: Inspect your roof at least twice a year, ideally in spring and fall. Look for signs of wear and tear or any potential issues.
Gutter Maintenance
- Keep Gutters Clean: Clogged gutters can cause water to back up and damage shingles. Ensure regular cleaning to prevent this.
Trim Overhanging Branches
- Prevent Physical Damage: Tree limbs can scrape or fall onto the roof, causing damage. Trim branches to mitigate this risk.
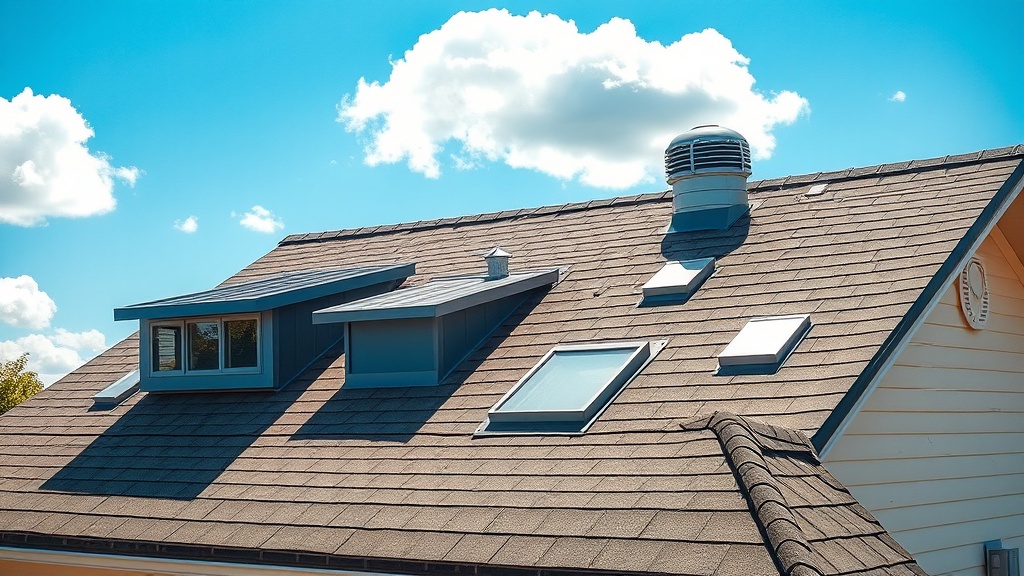
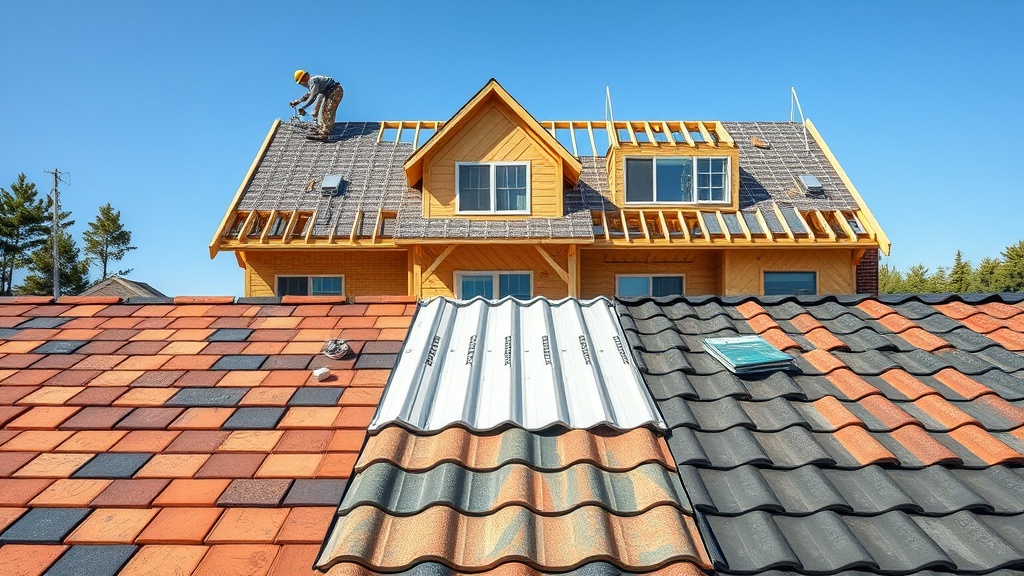
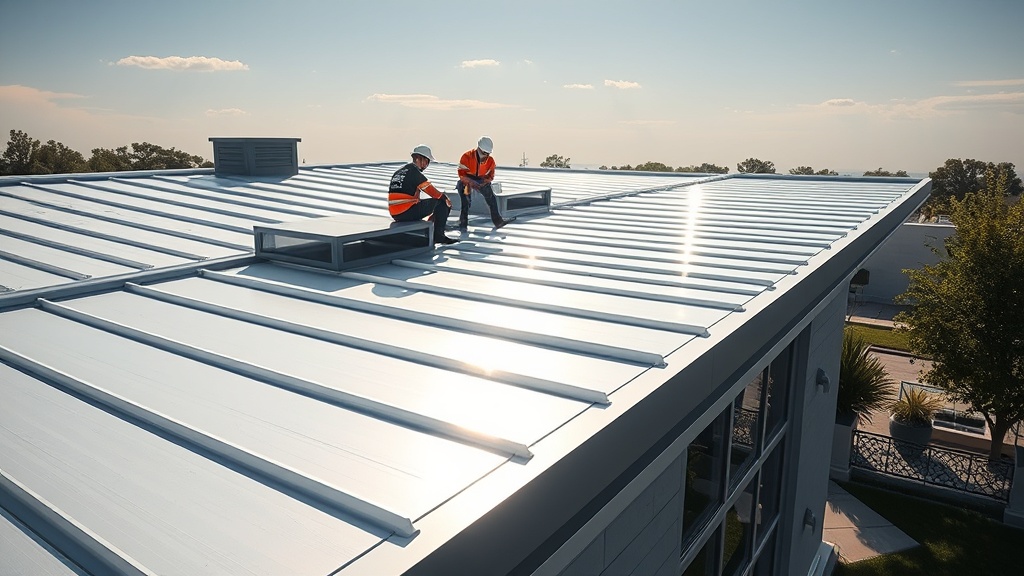
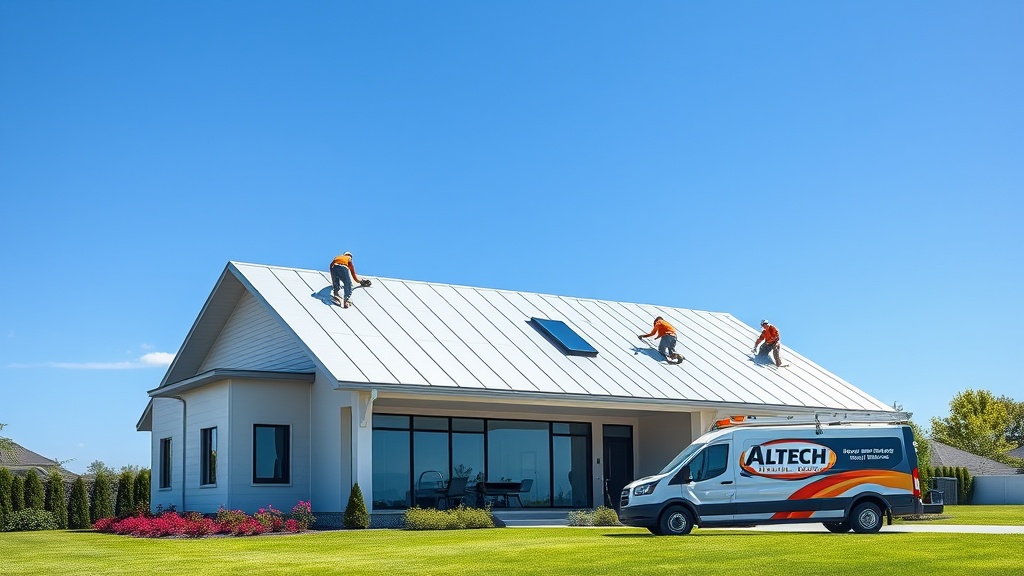
Current Trends in Shingle Technology
As with all home improvement sectors, roofing is not immune to technological advancements. Some exciting trends include:
- Cool Roof Shingles: Reflect more sunlight and absorb less heat, reducing cooling costs.
- Impact-Resistant Shingles: Designed to withstand severe weather, reducing the risk of hail damage.
- Solar Shingles: Offer the benefits of solar panels without altering the aesthetics of your roof.
These innovations not only enhance the durability and functionality of roofs but also contribute to energy efficiency and sustainability.
Future Implications
Looking ahead, the roofing industry is likely to keep evolving with environmental considerations at the forefront. With climate change, severe weather is becoming more common, making durable roofing solutions more critical than ever. Moreover, as smart home technology advances, we might see more integration between roofing materials and home systems, allowing for real-time monitoring of roof health.
Conclusion
In the realm of home maintenance, the humble shingle might not get much attention until something goes wrong. However, regular inspection and timely repairs can significantly extend the life of your roof and save you money in the long run. By understanding the causes of damage and knowing how to address them, you’ll be well-equipped to keep your home safe and sound.
Remember, while DIY repairs can be rewarding, don’t hesitate to call in professionals if a job feels beyond your skill level. Your safety and the integrity of your home are paramount.
Thank you for joining me on this exploration of shingle repairs! I hope you found this guide helpful, and that it empowers you to tackle roof issues with confidence. Until next time, happy home maintaining!